

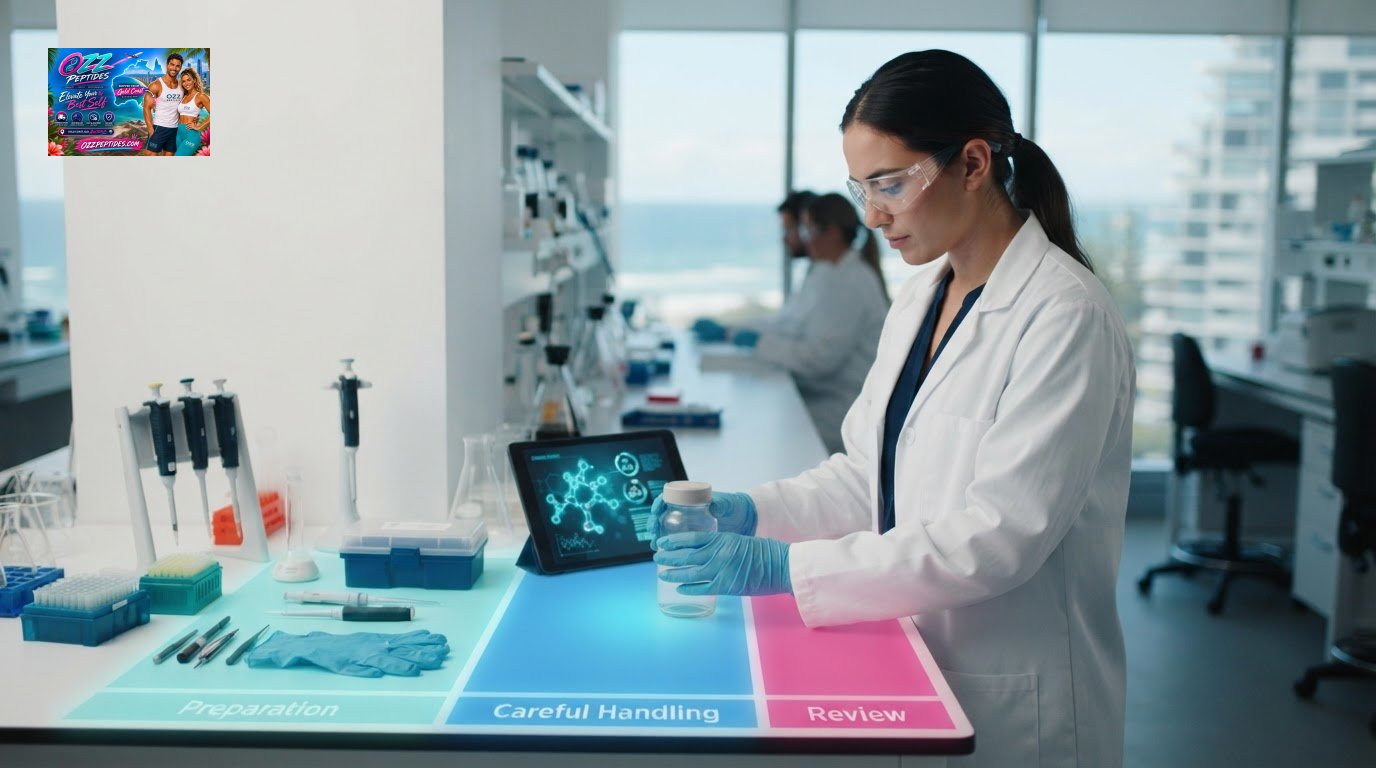
What if the safest handling decision happens before a reagent is opened? Research reagent handling guidance should start with the specific product in front of you, not a one-size-fits-all routine. The label, Safety Data Sheet (SDS) and product documentation help identify the information that matters for that reagent.
Generic advice can miss product-specific hazards or important handling details. A repeatable checklist helps, but it should work alongside the product guidance and your laboratory’s local procedures, not replace them.
This practical guide shows what to review before, during and after handling, including how to prepare for a spill, exposure or unexpected change. You’ll learn which documents to consult first and how batch-specific information can support your lab’s review process. The guidance is for scientific research only and doesn’t imply suitability for human use or make medical claims.
Key Takeaways
- Use research reagent handling guidance that matches the specific material, task and laboratory procedure.
- Review the label, Safety Data Sheet and relevant SOP to understand product identity, hazards and handling requirements.
- Build a repeatable before, during and after checklist, using the PPE and equipment specified for the work.
- If a spill, exposure or suspected damage occurs, follow site emergency procedures and involve trained personnel.
Research reagent handling guidance: what to check before work begins
A research reagent is a substance used in laboratory work to support an experiment, test or analysis. Its identity and properties matter, but so does the task: the same material may need different controls depending on how and where it’s handled. Start with the product’s documentation and your laboratory’s current standard operating procedure (SOP), the local instructions for carrying out the work.
No single handling routine suits every research reagent. Use the product-specific information to guide your preparation rather than relying on a generic routine. For a plain-language overview of the term, see What is a Reagent?
This video shows a reagent management system in use; it’s a useful companion to the practical checks below.
What belongs on a pre-handling checklist?
Before starting, match the container and its batch details to the product documentation. Where available, a batch-specific Certificate of Analysis can support the laboratory’s review of product documentation. Then confirm the planned task, work area and responsible procedure.
- Identify the material and check its label and batch details.
- Confirm the work is for laboratory research use.
- Check the task, location and applicable local SOP.
- Make sure the required work area and equipment are ready.
- Review product documentation before beginning.
Why generic handling advice has limits
Hazard and handling information depends on the specific reagent and the work being done. A broad rule can’t tell you which controls, equipment or precautions apply to a particular product. Those details belong in the product documentation and relevant SOP. If they don’t align, or you can’t identify the applicable procedure, pause and resolve the uncertainty through your laboratory’s established process before starting.
This checklist supports consistent preparation, not a universal experimental protocol. Keep handling decisions tied to the documented product and intended research task.
How labels, SDS and laboratory SOPs guide reagent handling
Use the product label, Safety Data Sheet (SDS), batch documentation and your laboratory’s standard operating procedure (SOP) together. Each serves a different purpose. The label helps confirm what’s in the container and whether its identifying details match the material planned for use. It’s a traceability check, not a complete set of handling instructions.
An SDS explains relevant hazards and provides information to guide safe handling, storage and response. Use it alongside the local SOP, which sets out the laboratory’s approved steps for the task and location. Good research reagent handling guidance comes from reviewing the relevant documents together, not assuming one replaces the others.
What does each document tell you?
- Product label: identifies the material and provides details used to match it to its documentation.
- SDS: outlines the product’s hazards and relevant handling information.
- Batch documentation: records information associated with a particular batch. OZZ Peptides provides available Certificates of Analysis for research products. A Certificate of Analysis (CoA) reports batch-related information; it isn’t a handling protocol.
- Laboratory SOP: describes the approved local process for the work, including applicable controls and responsibilities.
Read the documents in context. For instance, confirm that the label and batch details match the product information, then use the SDS and relevant SOP to understand the hazards and local controls for the planned task. There isn’t a single document hierarchy that can be assumed for every laboratory or reagent.
What if instructions appear inconsistent?
Pause the task if product information and local instructions seem to conflict, are unclear or don’t match the material. Don’t guess, rely on general online advice, or treat a general safety principle as product-specific direction. Follow the laboratory’s approved escalation process so the discrepancy can be reviewed before work continues.
Keep research compounds for scientific research only, not human consumption or injection. If you’re sourcing research materials, you can browse OZZ Peptides’ research products and review their documentation as part of your laboratory’s process.
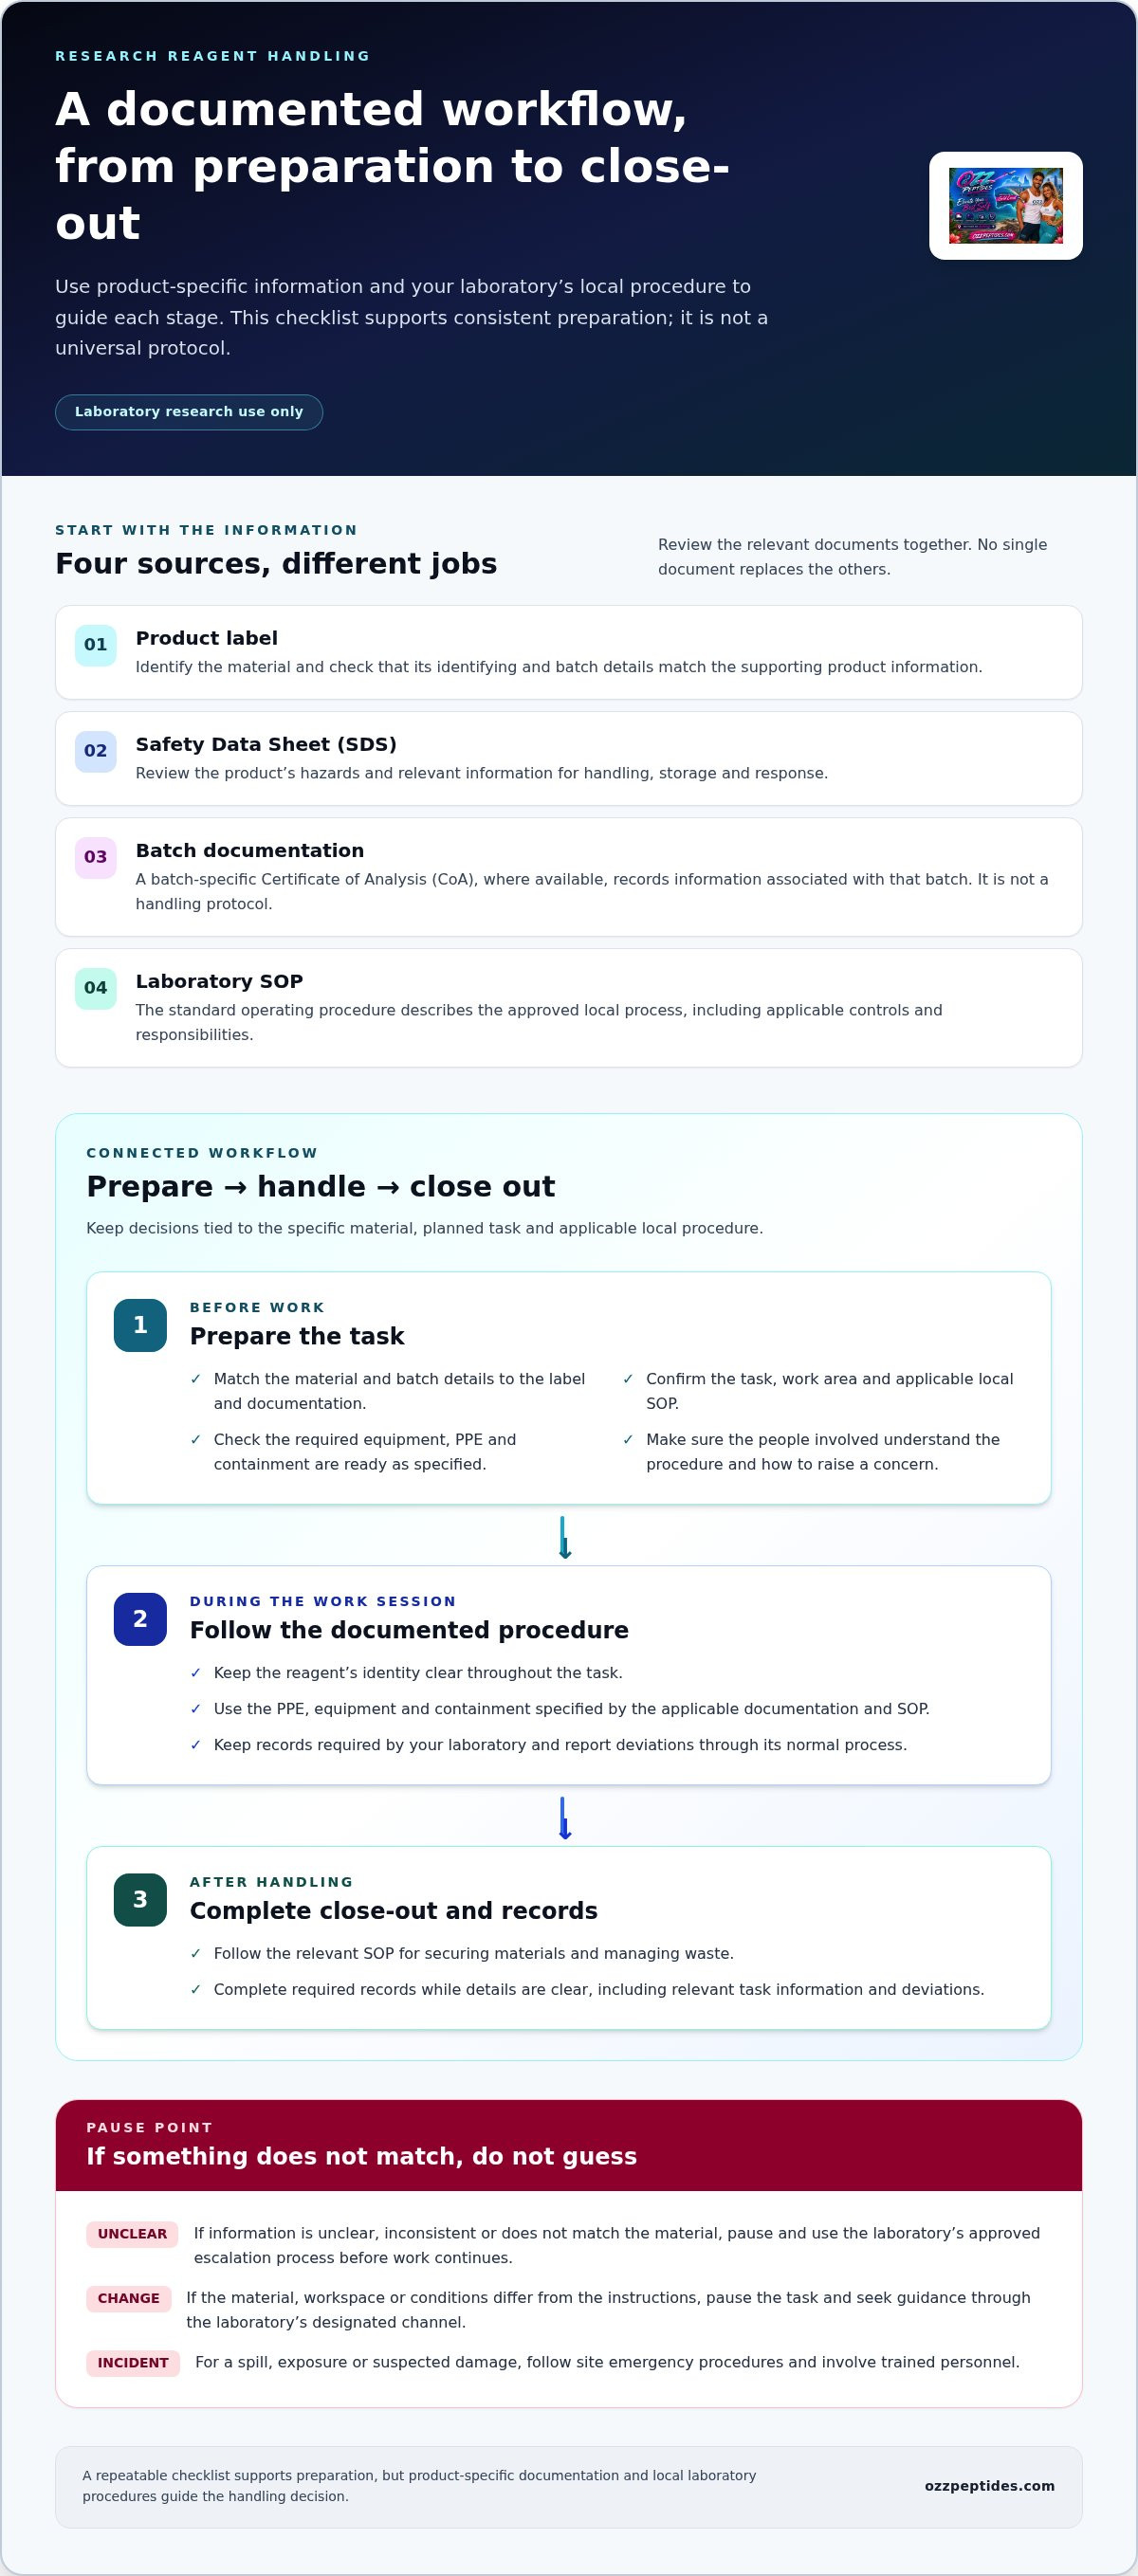
A before, during and after checklist for research reagent handling
Use this workflow to turn research reagent handling guidance into a repeatable routine without assuming every product needs the same controls. Follow the applicable product documentation and laboratory SOP for PPE, equipment, containment and task-specific requirements. This checklist helps organise the work; it isn’t an experimental protocol or a substitute for local instructions.
Before work: prepare the task
Match the reagent to its label and supporting documentation, then confirm the planned task and work area. Check that the relevant SOP is current and that required equipment, PPE and containment are ready as specified. Make sure the people involved understand the procedure and know how to raise a concern before work begins.
During the work session
Follow the documented procedure and keep the reagent’s identity clear throughout the task. Use only the PPE, equipment and containment specified by the applicable documentation and SOP. Keep records required by your laboratory, and report any deviation through its normal process. If the material, workspace or conditions differ from the instructions, pause the task and seek guidance through the laboratory’s designated channel.
After handling: close-out and records
Complete the close-out steps in the relevant SOP. Follow its directions for securing materials and managing waste rather than relying on a general rule. Finish required records while details are clear, including relevant task information and any deviations or unexpected observations. Clear communication helps the laboratory review what happened and decide whether follow-up is needed.
Keep this sequence practical: prepare, follow the documented controls, then close out and record. If you’re sourcing materials for research, review the research range alongside your laboratory’s documentation process. Storage decisions should follow the applicable product information and local procedure, not assumptions based on this handling checklist.
When something goes wrong: respond, record and review
A spill, exposure or suspected product damage calls for a clear response, not improvisation. Stop the task and follow your laboratory’s site emergency procedures. Use the relevant Safety Data Sheet (SDS) and instructions from trained personnel to guide the response. Don’t attempt clean-up or other actions based on a general checklist if you’re not trained or authorised to do so.
What should happen after an incident?
Prioritise the laboratory’s emergency process and the directions of trained responders. Once the situation is managed, follow local reporting and record-keeping requirements. Keep the account factual, clear and limited to what was observed and done.
- Identify the material using its label or available product records.
- Describe the issue, such as a spill, exposure or suspected damage, without guessing at the cause.
- Record the time and actions taken, as required by the applicable SOP.
- Note relevant observations and report the event through the laboratory’s normal process.
Accurate records help the laboratory review the event and consider whether procedures or training need attention. Don’t delay required reporting while trying to establish a cause.
Turn handling checks into a consistent lab routine
Use the checklist during team onboarding so people know where to find product information, local procedures and incident instructions. Revisit it during periodic SOP reviews, especially when a procedure changes or a review identifies a gap. Keep the checklist as a prompt to consult current documents, not as a replacement for them.
For further context, OZZ Peptides’ research reagent guidance for Australian laboratories relates to product documentation and laboratory use.
Research compounds supplied by OZZ Peptides are for scientific research only, not for human consumption or injection. If you’re sourcing materials for laboratory research, explore the documented research supplies and review the product information as part of your lab’s process.
Make product-specific checks part of the routine
Make research reagent handling guidance part of how your laboratory plans its work. A useful next step is to choose one upcoming research task and identify whether the team has clear, current instructions for it. That gives you a practical starting point for keeping laboratory processes relevant as work changes.
Use that review to identify a small improvement, such as making an existing procedure easier for the team to locate or clarifying who maintains it. Keep any updates within your laboratory’s established review process, so changes are considered and shared consistently.
OZZ Peptides supplies research reagents and laboratory compounds for scientific research. Explore the range as a next step in planning research supply needs, while keeping product selection separate from any medical or human-use decision.
With a clear next step and a routine your team can maintain, you’re well placed to support thoughtful, consistent laboratory practice.
Frequently Asked Questions
What should you check before handling a research reagent?
Confirm the reagent is appropriate for the planned research task and that the instructions cover the work as intended. Check for substitutions or changes to the task that could make existing instructions unsuitable. A practical research reagent handling guidance check is to ensure everyone involved is working from the same task plan, rather than relying on assumptions or informal handovers.
What PPE should you wear when handling laboratory reagents?
Wear the PPE required for the specific reagent and task, as set out in the relevant risk assessment and laboratory procedure. Before starting, check that the selected equipment is intact and suitable for use, and that you know how to put it on and use it correctly. Don’t rely on what you usually wear for a different reagent or activity.
What should you do if a research reagent spills?
Follow the site’s emergency process and let trained responders direct the response. If it’s safe to do so under site instructions, make the relevant product information available to them, including the reagent identity and batch details. Don’t speculate about the cause or describe an uncertain exposure as confirmed. Provide factual observations so the laboratory can assess and document the event accurately.
Can you use a research reagent after its expiry date?
Don’t use an expired reagent unless your laboratory’s approved review process determines it’s suitable for the intended work. An expiry date shouldn’t be extended informally or changed just because the material looks unchanged. Follow the laboratory’s process for recording the decision and any required next steps, so the status of the reagent is clear to others using or managing it.
How should you move a reagent between laboratory work areas?
Plan the move under your laboratory’s transport procedure before carrying the reagent. Confirm the intended destination and any handover arrangements the procedure requires, so the material doesn’t arrive without someone prepared to receive it. Keep its identity clear during the transfer. If the planned route, destination or transport conditions fall outside the procedure, pause and seek direction before moving it.
Disclaimer
Research Information Disclaimer
The information provided in this article is intended solely for general educational and scientific research purposes.
OZZ Peptides supplies laboratory research compounds and reagents for legitimate research applications only. Products labelled for research use are not intended for human or veterinary consumption, injection, diagnosis, treatment or prevention of disease.
Information about experimental compounds, scientific studies or preliminary research findings should not be interpreted as medical advice or evidence of regulatory approval.
Scientific findings may be preliminary, and research outcomes are not guaranteed.
Readers should consult appropriately qualified professionals and applicable Australian regulatory guidance before undertaking relevant research activities.